Last updated on Oct 17, 2025
How to Edit Your Own Book (with Template)
Martin Cavannagh
Head of Content at Reedsy, Martin has spent over eight years helping writers turn their ambitions into reality. As a voice in the indie publishing space, he has written for a number of outlets and spoken at conferences, including the 2024 Writers Summit at the London Book Fair.
View profile →Writing a book is more than just sitting down, typing several thousand words then shipping it off to a press (or self-publishing it). Before you can share it with readers or publishers, you must learn how to rewrite, edit, and shape your manuscript into the best possible version of itself. Even if you're going to work with professional editors, this part of the editing process is something that every author must do for themselves.
To guide you through your editing process, you can download Reedsy’s Book Editing Checklist and print it out.
FREE RESOURCE
Get our Book Editing Checklist
Resolve every error, from plot holes to misplaced punctuation.
Having this free checklist on hand can help as you go through this post. Without further ado, let's get started!
1. Understand the editing process
Writing a first draft is an act of pure creation. Editing, on the other hand, is an analytical, problem-solving process where you’ll slowly chip away at that lumpy draft until you have something you’re proud of. To get you in that editing frame of mind, here are a few pointers:
Give yourself a bit of time
It is a truth universally acknowledged that you should set your manuscript aside for a few days before you begin editing. Neil Gaiman puts it this way: “Once it's done, put it away until you can read it with new eyes. When you're ready, pick it up and read it, as if you've never read it before.”
Don’t try to fix everything at the same time
Imagine an artist painting a landscape. They don’t start by shading a tiny tree in painstaking detail — they begin by sketching out the mountains and the river. That’s the approach you should take when self-editing your book. You’ll be doing multiple rounds of editing that look at different elements of your writing, so don’t worry about making each sentence perfect before you move on.

Understand that you’ll be cutting out some of your favorite parts
Writers often hear the advice “kill your darlings,” meaning that you should cut out any wonderful passages that don’t serve the bigger picture. Again, don’t stress: you can always file away your ‘deleted scenes’ in case you can use them later. And remember: if you wrote something amazing, you can do the same again — so don’t sweat it.
🖋️
What kind of editing does your book need?
Takes one minute!
2. Start by fixing 'big picture' problems
If your plot is water-tight, your structure is strong, and your characters are relatable and grow in a satisfying way, you’re halfway there already. With that in mind, your first stage of editing will deal with these broad-stroke issues.
Plot 📈
Plot consists of a story's connected events, with each leading to another plot point. At the most basic level, your plot simply has to connect in a logical order that escalates towards some sort of climax. It should also deliver on what the setup of the story promises (for example, a detective novel should really involve some detectin’).
Here are some plot questions from our editing checklist:
- Is the plot engaging and believable?
- Do plot points flow logically and gather or maintain momentum?
- Are all major and minor narrative threads tied up by the ending?
- Do the plot twists make sense? Are there plot holes in the story?
- Does the plot match the conventions of your genre?
Pro-tip: Write a 1-sentence summary of each scene on individual flashcards and pin them onto a corkboard. With your plot laid out in front of you, it’s easier to move scenes around (or toss them out entirely).
During this part of your edit, don't worry if you feel like you're losing the plot (!) — you’ll always have a guiding light in the form of story structure.
Story structure
While a book’s plot can go anywhere, story structure isn’t as flexible. Stories largely follow the same pattern:
A hero is in a ‘normal world’ before something forces them out of their comfort zone, and in pursuit of a goal that they must either achieve or face the consequences.
Whether you’re planning your book in line with The Three Act Structure, the Hero’s Journey, or any other narrative framework, you should be able to distill your story into a single sentence following this formula:
[Character] must [do something] to achieve [goal] or else [reason why the audience should care]?
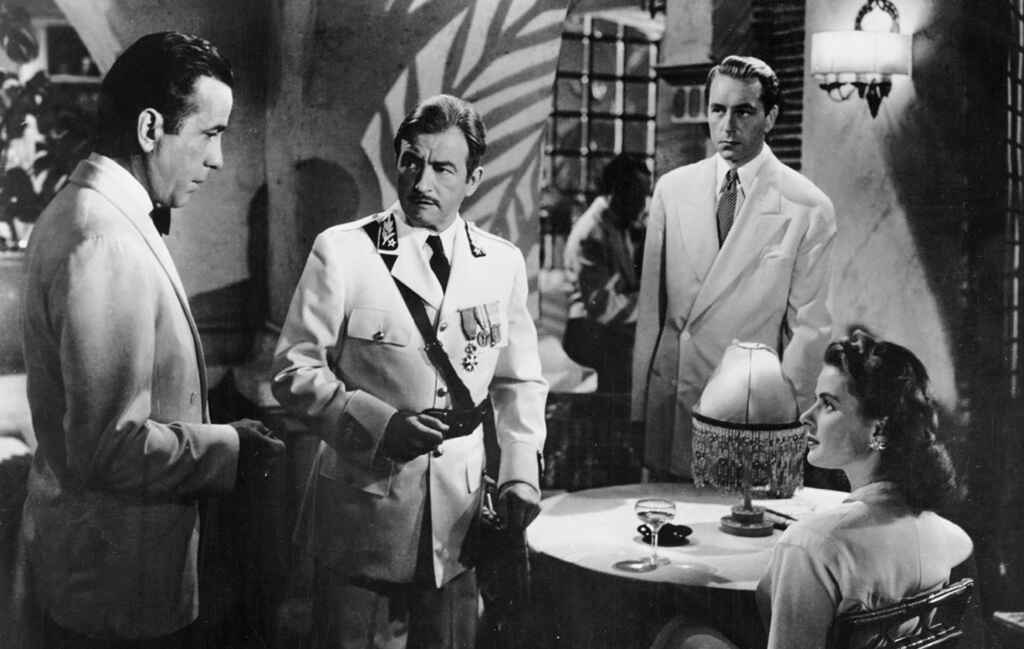
For example, you could describe 1941's Casablanca this way:
A cynical nightclub owner must stick his neck out in order to help his old flame and her husband escape Casablanca or else endanger the French Resistance.
To make sure your own book adheres to basic narrative principles, check out our in-depth guide to story structure and pick a framework that speaks to you.
Your book needn’t follow any particular structure to the letter — story isn’t a strict science, after all. However, you may find these structures useful for identifying missing or misplaced ‘story beats’ that could prove vital to solving your story’s narrative issues.
To go even deeper into narrative structure, sign up for our free course on the Three-Act Structure.
Character
In many ways, a story is about how a character reacts to an event or situation. How does a kind, romantic orphan boy react to a secret inheritance? How does a spider react when her porcine pal is condemned to the slaughterhouse?
For your protagonist to go on a satisfying, challenging journey ( where they can react in an interesting way), certain things need to be in place: a primary goal, strengths that can help them reach it, and weaknesses that get in the way.
Then there are antagonists and secondary characters. While they should also have a rich, relatable inner life, they need to contribute to the protagonist’s story in order for your book to work. If they don’t somehow help, hinder, or shed light on your main character, you may need to edit some scenes, add new ones, or remove characters entirely.
To decide whether your characters are sufficiently rounded to carry a story, let’s turn to our checklist:
- Do the main characters have clear traits, strengths, and weaknesses?
- Do your protagonist and antagonist have clear motivations?
- Do characters act believably and consistently in each scene?
- How do the secondary characters serve the story?
- Chart each main character's overall arc. Is every arc clear and compelling?
For more help, check out our guide to making a character bible as well as our free course on character development.
3. Listen to your story
After your first stage of editing, you should ideally have a story that works on a basic level. This next stage is all about infusing your book with texture and meaning by focusing on conflicts and themes.
Conflict is at the heart of every story
Conflict must escalate over the course of the story. The roadblocks preventing your protagonist from achieving their must become more insurmountable as the story goes on. The bad guys close in on the detective; the romantic lead’s sense of self-doubt grows more acute.
In your editing, make sure that your central conflicts — whatever they are — steadily build toward the climax. Not only does this building tension assure your readers that your story is going somewhere, but it will also grow your stakes and allow your big finish to have an even greater impact.
Check out this guide for tips on how to identify and develop your book’s central conflicts.
With your protagonist's central conflicts clearly defined, you will soon see your themes emerge from the woodwork.
Fleshing out your themes
While many authors don’t start writing with a literary theme in mind, they very often find these themes emerging in the rewrite. No matter how niche and unusual a protagonist’s conflict is, it should be grounded in something universal — and that is the theme.
Once you understand what ‘universal truth’ your book is really about, you can find ways to accentuate that theme.
If your book is about fear of aging, maybe the antagonist could be a plastic surgeon. You can perhaps focus your descriptions on motifs of natural decay — or use a ticking clock as a plot device. Anything that can subconsciously make the reader more receptive to your themes can and should be planted at this stage.
Editing checklist for conflict and themes:
- Are your intended themes developed through conflict?
- Is the central conflict intriguing, yet clear? Is it resolved (at least for the time being) when the story ends?
- Does this conflict escalate gradually over the course of the book?
- What dramatic question(s) arise, and are they answered by the end?
- What sacrifice is your protagonist faced with making at the climax?
Now that the skeleton of your book is fully aligned and the flesh is starting to adhere to the bones, it's time to zoom in and start working on the details.
4. Do a 'scene by scene' edit
Next comes scene-by-scene editing. Here, you'll ensure each scene contributes to the story, and that the details within are compelling. You may have already done some light scene editing in service, but now's the time to confirm that each one accomplishes its purpose — and if not, to change or cut it. Let’s divide this into three parts:
Scenes and chapters 🎬
If you're fresh from editing your plot, then editing your scenes and chapters should come pretty naturally. This is where you look at your scenes, particularly the important ones (like the opening, the inciting incident, and the climax), and try to make them more connected to each other and more enticing to readers.
Editing checklist for scenes and chapters:
- Does the opening scene hook readers? Does it begin in the right place?
- Are there enough scenes, and does each one serve a concrete purpose?
- Are scenes paced well and are your chapters an appropriate length?
- Is each scene clearly oriented in time and place?
- Could each scene start later?
- Is foreshadowing used effectively, if applicable?
- Are scene and chapter transitions smooth?
As you can probably tell, this phase of editing is about getting into the nitty-gritty. Don't be afraid to “micromanage” your scenes: cut them, tweak them, and shift them around until you have them exactly right.
Also, make sure your pacing isn't too slow (which can bore readers) or too fast (which can confuse them). If you're unsure about pacing, have a beta reader check it out — this is one flaw that's especially hard to diagnose in your own writing, so a fresh pair of eyes can be helpful.
Dialogue 💬

Time for everyone's favorite part of the story: dialogue. Of course, just because dialogue is fun to write, doesn't mean it's easy to do well. We have a comprehensive guide to dialogue right here on the blog if there’s anything you need to clarify, but if you're ready to dive into the edit, read on!
Editing checklist for dialogue:
- Does the dialogue serve a purpose in each scene? Does it provide information? Advance the plot? Help the pace of the story?
- Does each character have a distinct voice?
- Does the word choice accurately reflect the time and place?
- Is there a balance among dialogue tags, action beats, and implied tags?
- Have you mostly used "said," and only mixed it up occasionally?

FREE COURSE
How to Write Believable Dialogue
Master the art of dialogue in 10 five-minute lessons.
Some dialogue problems, like overusing fancy dialogue tags, are easy to fix. Others, like giving every character a distinct voice, might be harder to work on. If you don't have much experience with dialogue, why not sign up for our free course on writing natural dialogue?
Prose and perspective ✍️
Here are another two elements you might not have thought were related: prose and perspective. We've grouped these together because stories are often told from a certain person's point of view, which naturally affects the prose style. It's also one of the last stages of editing because many of these issues will have been corrected or improved throughout the process! So while this part is mostly a safeguard, it's worth checking over just in case.
Editing checklist for POV and prose:
- Is the narrator’s voice clear and consistent?
- If the point of view character changes, how is that change marked? Could there be a better alternative viewpoint character in any given scene?
- Does the prose style more-or-less match the POV character's voice?
- Does each sentence contribute to the story?
- Do you depict your dialogue, characters, and setting through action over description?
FREE COURSE
Understanding Point of View
Learn to master different POVs and choose the best for your story.
Again, if you've gotten this far, most of these issues have probably resolved themselves. But there are still a few easily missed points, such as clarifying when your POV character changes and tidying up patches of purple prose. So take some time to scout for these things, even if you think you've got it covered.
5. Finish by eliminating sentence-level mistakes
You've come so far — but there's still more to go! This final step in our process focuses on the nitty-gritty of your text: it's the copy edit. And the great thing about copy editing is that it's so cut-and-dried. If you spot a grammatical error, you know exactly how to fix it.
So when you're ready, sit down with our copy-editing guidelines and knock 'em out.
Here are 10 tips for copy editing your writing:
1. Replace passive voice with active voice where appropriate.
❌ The ball was kicked.
✅ She kicked the ball.
2. Limit the use of adverbs in your dialogue tags. (Show, don’t tell!)
❌ “Why did you eat my turkey sandwich?” said Harry angrily.
✅ Harry upended the table. “Why did you eat my turkey sandwich?”
3. Replace weak verbs and adverbs with stronger verbs.
❌ Leonard ran quickly to school.
✅ Leonard sprinted to school.
4. Replace all “hidden” verbs.
❌ Offer an explanation
✅ Explain
5. Delete vague, subjective words and “crutch” words.
❌ “could,” “might,” “maybe,” “more,” “poor,” “some,” “multiple,” etc.
❌ “really,” “literally,” “suddenly,” “simply,” “just,” “a little,” “almost,” etc.
6. Check for instances of overly complicated language.
❌ In close proximity
✅ Near
7. Delete all instances of clichés in the text.
❌ It was a dark and stormy night.
8. Check that all of your dialogue is formatted correctly.
❌ “I love you.” Said Pam.
✅ “I love you,” said Pam.
9. Make sure the point of view doesn't accidentally shift. (Head hopping)
❌ She was just settling down with a cup of coffee when the fire alarm went off. “Oh, perfect timing.” I grabbed my coffee and stood back up.
10. Watch out for descriptive inconsistencies.
❌ Devon's blonde hair shone in the sunlight ... “Whatever you say, man,” replied Devon, flipping his brown locks away from his eyes.
Once you've finished tinkering with the copy, your book should really be coming together.
6. Get beta readers and a professional editor
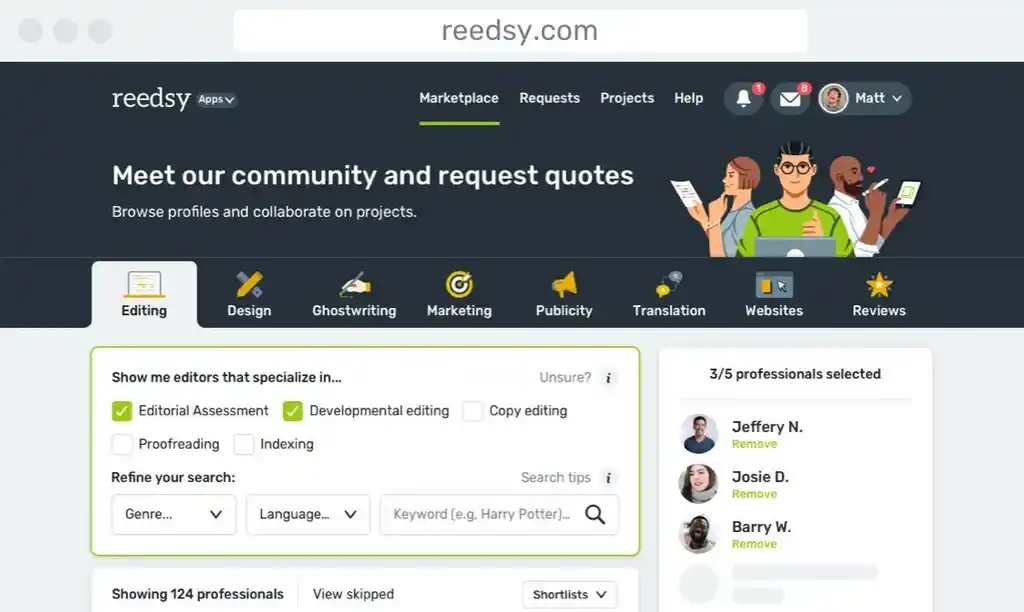
Once you’ve taken your manuscript as far as you can — and maybe shared it with a few beta readers — you may want to get it ready for publication. If you’re self-publishing, it’s worth hiring freelance editors to make sure your book is as good as it can be. To find out more, check out our guide to professional editing, or sign up to our marketplace to browse the profiles of editors you could work with.
Hire an expert
Peter L.
Available to hire
Seasoned editor / award-winning author / college teacher / pastor. I specialize in making writing flow like water–from sentence to book.
Dan H.
Available to hire
Professional editor of SFF/Horror. Have worked with bestselling authors Shauna Lawless, Gemma Amor, Stacey McEwan. (No AI please.)
Eric H.
Available to hire
AP-trained copy editor now editing and proofreading for newsletters, university-affiliated authors, and of course my fab Reedsy clients!
If your intention is to land a traditional book deal, you’ll find that the editing process will begin anew once your book is in the hands of a publishing company, which will have its own team of editors. Still, before you start querying agents and publishers, you may wish to get a developmental edit (or at least an editorial assessment) to improve your chances of impressing the ‘gatekeepers’ with your writing samples.
Remember that a book is truly written in the edit — so don’t short-change your potential by rushing through the stages. Enjoy the process, learn from your mistakes, and take all this wonderful experience with you to your next book!





4 responses
James Lee says:
28/05/2019 – 16:18
Great post with lots of good information. I self published my first book of short stories, and went with a professional editor. If you can afford it, I think that's the best route. I've currently got two novels in the works and I plan on getting a professional editor for both developmental and copy edits.
dragon says:
28/05/2019 – 17:47
Wow, third time I've tried to download this checklist. Amazing that all it does is connect me to a place to sign up for the newsletter ... which I already have and which I really do not need multiple copies of. You guys suck.
↪️ Martin Cavannagh replied:
29/05/2019 – 15:00
If you enter the same email you've signed up with before, you won't be added to our list multiple times. We've put some checks in place to prevent that. You can also use the 'unsubscribe' link at the bottom of the email as soon as you've downloaded the checklist.
Stefan Bradley says:
25/07/2019 – 14:32
It's good to know that professional editors possess a lot of experience and are very accessible. My brother is interested in writing a book based on an experience he had last summer, but he is worried that he will make a mistake that he will not notice. I'll let him know that a professional editor will be able to spot any problems with his book so that the entire story is concise.