Blog • Understanding Publishing
Posted on Jun 17, 2024
How to Format a Book in Google Docs in 7 Simple Steps
About the author
Reedsy's editorial team is a diverse group of industry experts devoted to helping authors write and publish beautiful books.
More about the Reedsy Editorial Team →About Dario Villirilli
Editor-in-Chief of the Reedsy blog, Dario is a graduate of Mälardalen University. As a freelance writer, he has written for many esteemed outlets aimed at writers. A traveler at heart, he can be found roaming the world and working from his laptop.
Learn more →Many authors love using Google Docs for their projects. It’s a free, intuitive, and practical tool to write just about anything, from personal journals to fictional narratives. But can you use it to format an entire novel for publication? The answer is… yes, kind of.
Some authors may prefer to stick with what they know with Google Docs or Microsoft Word, but the truth is that there are much better tools out there to achieve that goal. Nonetheless, if you want to make a truly bold move and format your book using Google Docs, here’s how to do it.
How to format your book in Google Docs:
Note: The way you format your book in Google Docs will depend on your publishing method. In this post, we'll focus on creating a file for self-publishing on platforms like Amazon. If you're aiming for traditional publishing, check out our post on formatting your manuscript for literary agents.
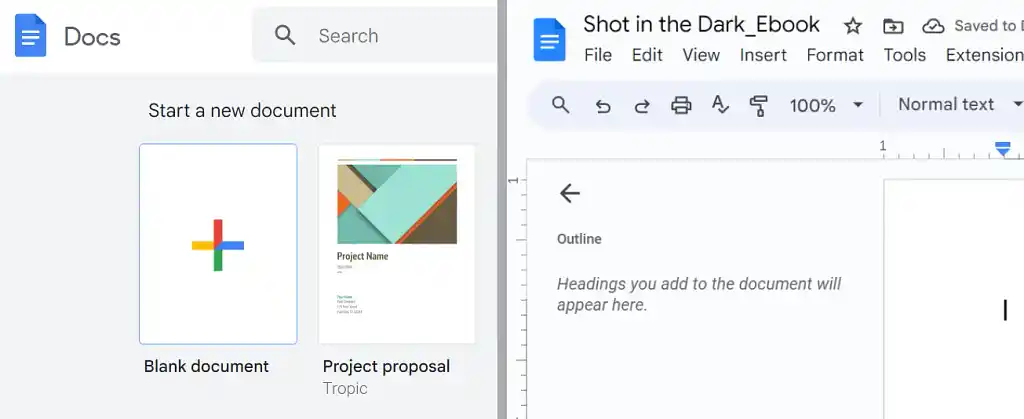
1. Open a new doc and customize the page size
The first thing you need to do is to open a new file and rename it as you see fit (e.g., Shot in the Dark_Ebook). It’s that easy.
Before getting into the manuscript, adjust the document’s page size to match your book’s intended trim size. Even if your plan is just to make an ebook for now, it's a good idea to set those page dimensions from the get-go 一 just in case you change your mind later on.
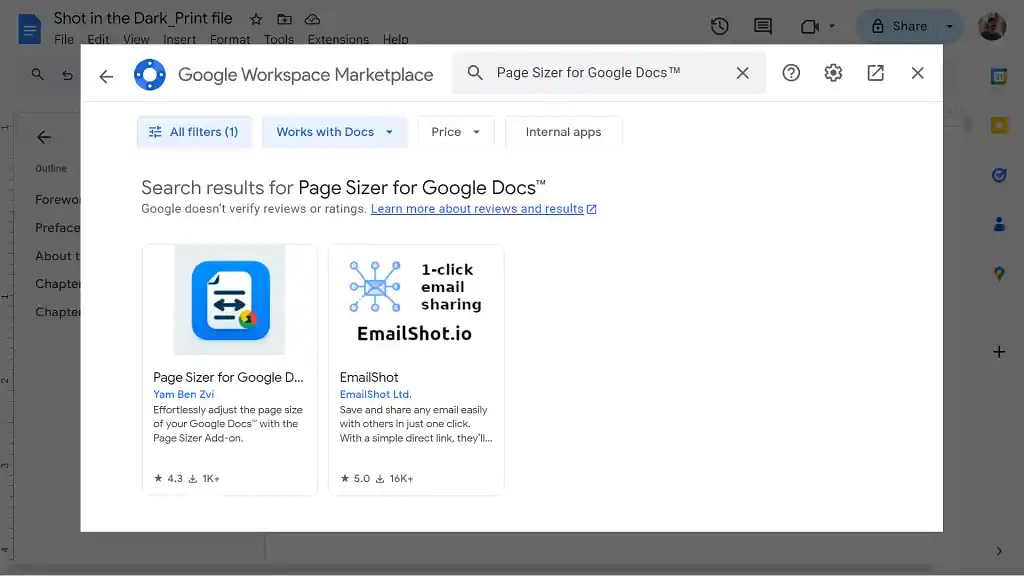
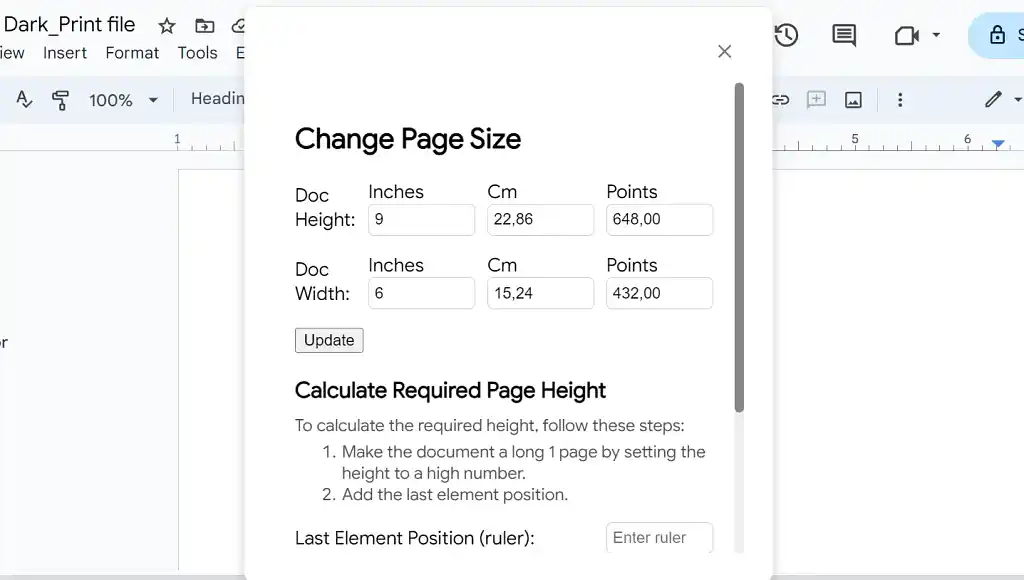
For paperback copies, the most common trim sizes are 5.5” x 8.5” (digest) and 6” x 9” (US trade). These aren’t default settings in Google Docs, so you’ll need to install a plugin that lets you customize your page’s dimensions. Go to:
Extensions > Add-ons > Get add-ons > Search for “Page Sizer for Google Docs” and Install it.
Activate the plugin by clicking through to:
Extensions > Page Sizer for Google Docs™ > Change Page Size
Then, pick and choose the precise dimension trim. Voilà.
Note that you’ll be giving access to a third-party plugin. If you don’t trust it with your manuscript and your other Google documents (or if you simply find the whole process too convoluted), you can use free tools like Reedsy Studio that let you instantly format your book using those trim sizes mentioned above.

FREE FORMATTING APP
Reedsy Studio
Format your manuscript for print or EPUB with a single click.
Now that your page size is set, let’s make your manuscript look pretty.
2. Style your text, paragraphs, and chapters
Go ahead and copy your manuscript right into your Google document. Make sure you paste it in without any funky formatting 一 hit Ctrl/Cmd + Shift + V (or right-click anywhere in the document and choose “Paste without formatting”), which will strip away any stray styles.
Choose a suitable font
Next, switch up the font family of your pasted text. Some popular free fonts in contemporary book design include:
- Arial
- Times New Roman
- EB Garamond
- Georgia
- Lora
The font size will depend on your trim size and book’s length. Usually an 11- or 12-point font would work fine, but if your manuscript is over 80,000 words, a 10-point font might be better.
To change your manuscript’s font and font size, highlight your text by hitting Ctrl/Cmd + A. Then, look for the appropriate dropdown menus below your Google document’s menu bar and tinker with the various options until you’re happy with how your manuscript looks.
Format the paragraph style
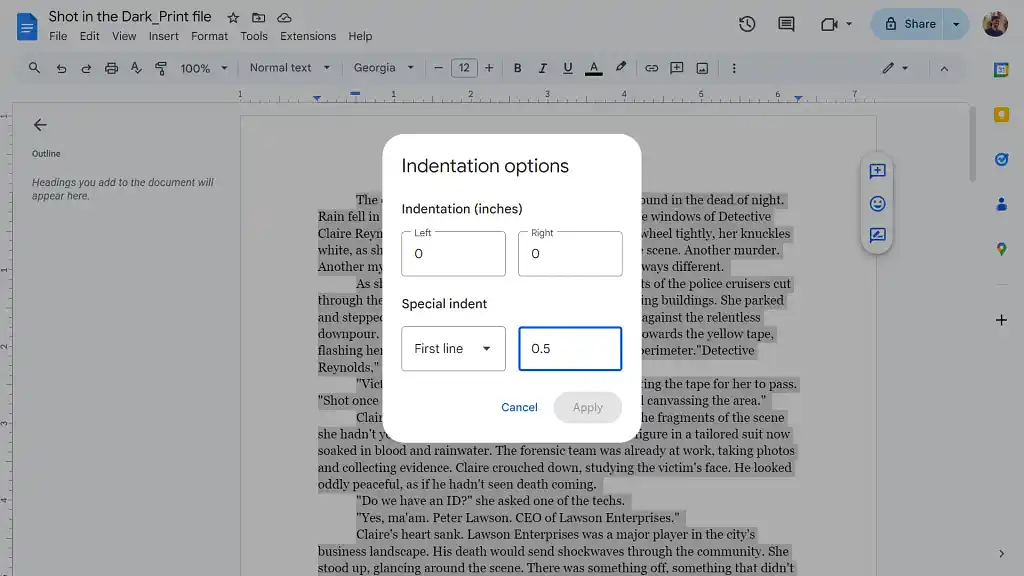
In most books, new paragraphs start with a 0.5" indentation. To set that up, head over to:
Format > Align & indent > Indentation options > Special indent > First line > Add "0.5"
To avoid straining your reader's eyes (and to save them from having to hold their e-reader mere inches from their face), adjust the line spacing and give your text some breathing room. Go to:
Format > Line & paragraph spacing > Select "1.5" or "Double"
Then, to make sure this formatting applies to all of your manuscript’s paragraphs, place the cursor on the edited paragraph and click:
Format > Paragraph styles > Normal text > Click “Update ‘Normal text’ to match”
This will set your paragraph style as the default for the entire document.
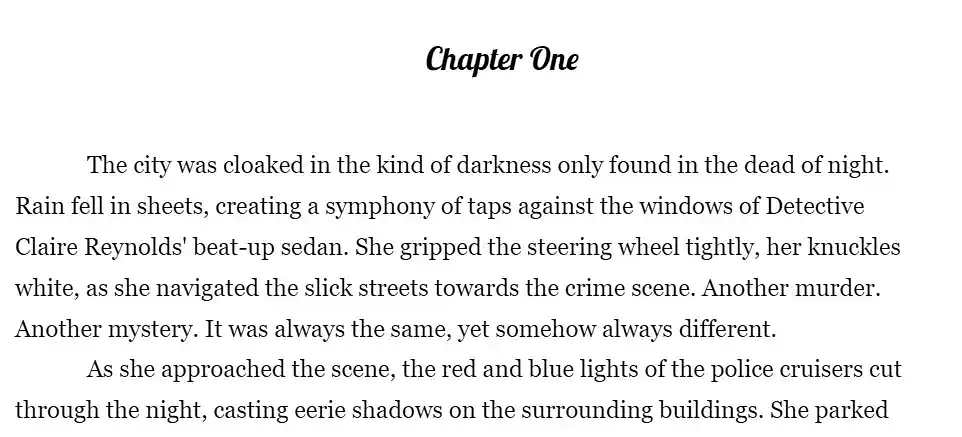
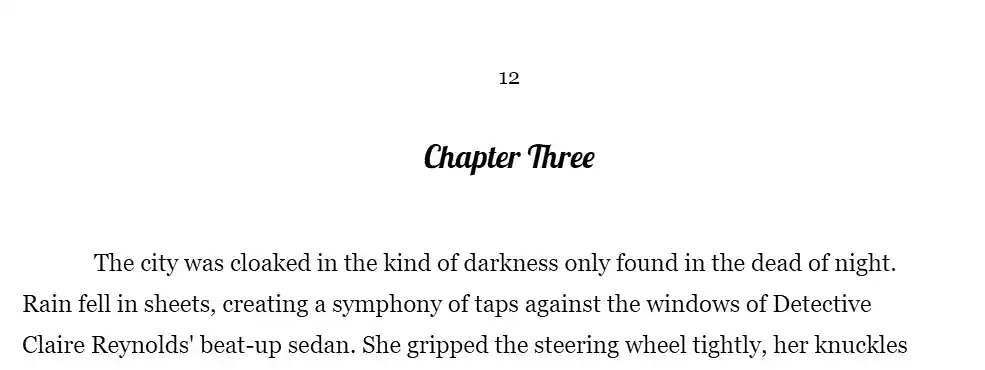
Format the chapter heading style
Next come chapter headings. Unlike with the manuscript's body text, which should prioritize a functional and readable font, you have more creative freedom with chapter headings, so you could use decorative fonts like Lobster or Pacifico for a touch of flair. Otherwise, stick to the same font you used for the body text.
- Select the text of your chapter heading and turn it into a Heading 2;
- Place it in the center of the page;
- Choose your preferred font.

To then make all subsequent headings look the same, click on:
Format > Paragraph styles > Heading 2 > Update “Heading 2” to match
At this point, you can add the rest of the chapters to the document. Just copy and paste in each chapter's text using Ctrl/Cmd + Shift + V and it'll automatically inherit the nice styling you've set up.
But don't run off to publish just yet! We can’t send your book out into the world all naked. Let’s make sure it looks “decent,” starting with the cover…
3. Add your book cover
If you’re going to print your book via print-on-demand services, you’ll be asked to upload your manuscript and cover files separately. In that case, you’ll need a comprehensive design 一 one with a front, spine, and back cover.
But if you want to add a simple front cover to the digital version of your book instead, here’s what you need to do:
- Place your cursor at the top of the manuscript’s first page and click Insert > Break > Page break;
- Add your book cover to the new empty first page by dragging and dropping it or clicking Insert > Image > Upload from computer;
- Click on the image;
- Click on the image’s position settings and choose “Wrap text,” 0” margin, and Fix position on page;
- Move the image to fit on the page.

If you find the process a bit buggy, it’s because Google Docs is not designed to format books. Reedsy Studio, on the other hand, will perfectly fit the image for your cover, regardless of the trim size you choose.
If you need a great cover, don't forget to check out the professional designers on Reedsy.
Hire an expert

Matthew R.
Available to hire
A graphic designer with a passion for book design. Over 600 cover credits with clients including Jeff VanderMeer. Let me dress your book!

Robert J.
Available to hire
I'm a book cover designer with over 15 years of experience. I will help you transform your literary masterpiece into an eye-catching cover!

James W.
Available to hire
Simple, but fun pencil and pen illustrator. I love middle grade, chapter books, and non-fiction for kids and adults.
After finalizing the cover, let's explore how to include those other parts that make up a book, such as the front and back matter.
4. Include the front and back matter
In a book, the front matter can include sections such as the copyright page, title page, table of contents, and dedication page. The back matter typically features sections like "About the Author" and "Also by the Author." For brevity, we'll touch on how to add a few of these sections, but you would follow a similar process for the others.
To insert a new section, add a page break and then customize each page with the relevant information.
Title page
The title page features the book’s title and its author’s name.
- Write your name and book’s title separated by a line break;
- Center them at the top of the page;
- Use the same font as the manuscript’s body but with a slightly larger font size (e.g., 14 pt or 16 pt).
- Optional: Capitalize every letter of your book’s title for more contrast.

Copyright page
The copyright page can include information like disclaimers, credits, your book’s ISBN number, and more. Read our dedicated post on how to make a copyright page for a more thorough explanation. To get you started, here are some basic tips:
- Write your copyright page disclaimers;
- Use the same font size as your manuscript’s and italicize it;
- Separate each section with a line break;
- Center all the text on this page.
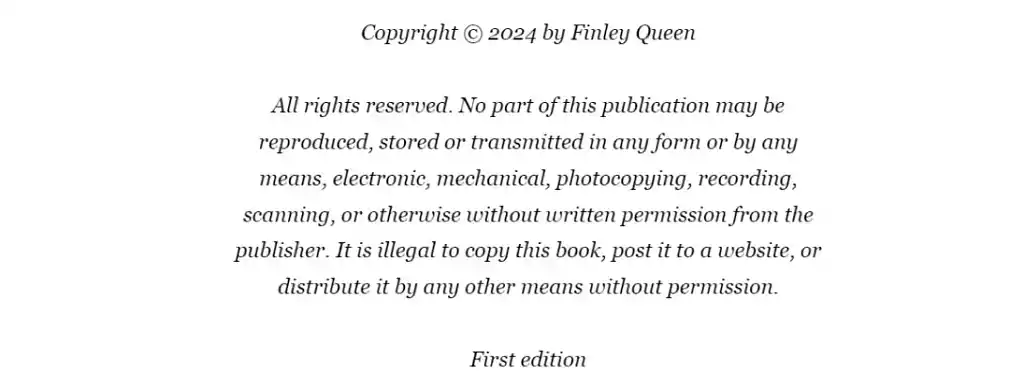
Table of contents
The table of contents helps the reader navigate an ebook’s content more easily. You can create a perfectly adequate one by:
- Writing “Contents” and centering it;
- Changing the font to match your manuscript’s;
- Changing the font size to 18 pt or 20 pt;
- Adding a couple of line breaks below it;
- Going to Insert > Table of contents > Picking the option that says “Links” when you hover your cursor over it.

If you plan to include additional sections (such as a foreword) and want them listed in the table of contents, make sure you format their headings as Heading 2, or else they won't show up. You can also italicize these sections manually to visually distinguish them from your book’s chapter headings.
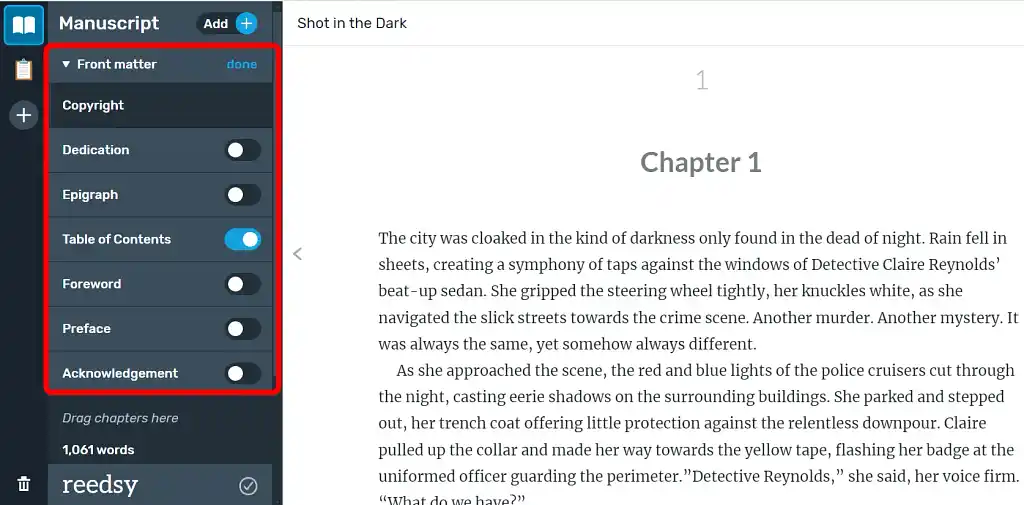
It's worth highlighting (again) that with Reedsy's free book formatting software, Studio, you can streamline the process of assembling your front and back matter sections. The intuitive left panel allows you to simply toggle on or off the elements you wish to include, then easily edit each section's content.
FREE FORMATTING APP
Reedsy Studio
Format your manuscript for print or EPUB with a single click.
Almost there! Let’s add some final details…
6. Automate your page numbers
You don't want any readers getting lost while reading your book, so let’s get those pages numbered. Click on:
Insert > Headers & Footers > Header > Options > Page numbers
You can choose whether to place the page numbers at the top or bottom of each page — this is a matter of preference. If you've added a striking cover image to open your book, you can deselect the "Show on first page" option. That way, the numbering will commence cleanly on the second page. Unfortunately, you cannot choose to start it on an arbitrary page.
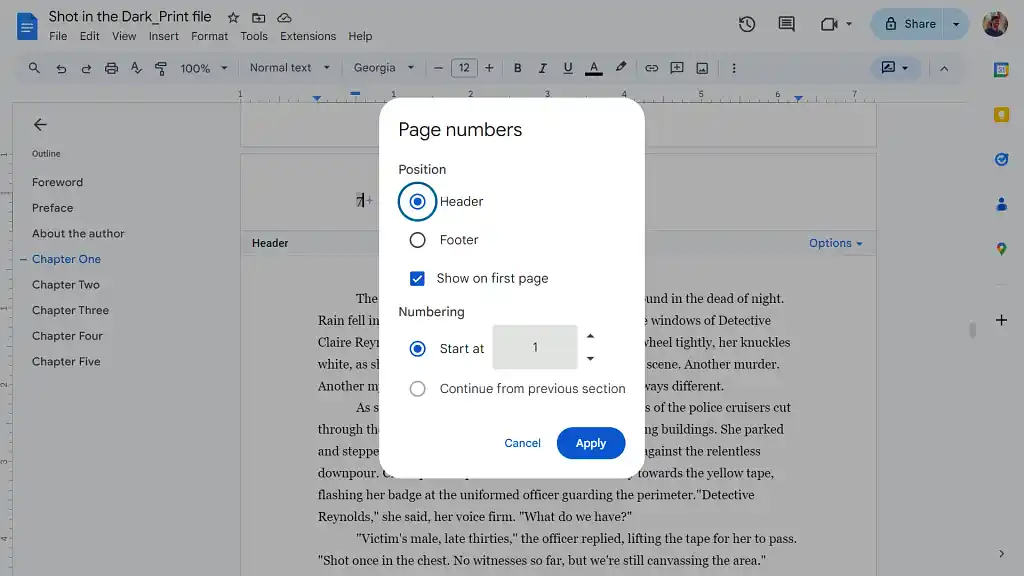
The number will be placed on the left by default, but you can change its position by clicking on it and then altering its alignment. All other page numbers will also be affected by this change.
You're in the home stretch now. One last step…
7. Export your book as a PDF
At this point, you’re pretty much all set to export your book. With all the pieces assembled, take a moment to review the outline in your Google document’s left sidebar. You'll see all the sections of your book neatly laid out in order, allowing you to give everything one last look before exporting. If the outline isn't visible, simply go to View > Show outline to bring it up.
Of course, we assume that your manuscript has already gone through professional editing and proofreading before this formatting stage. But it never hurts to have a proofreading tool plugin like ProWritingAid to catch any lingering mistakes before exporting.
If the copy is impeccable and everything else looks nice and sweet, click on:
File > Download > Pick either "PDF" or "EPUB".
And with that, your book is ready! The ultimate test is to upload it for publication on Amazon and similar platforms to see how it looks and reads. While it's possible you'll be fully satisfied with it, there's always a chance it may not have the professional polish you hoped for. In that case, feel free to test alternative tools like you-know-what to compare your final files, or hire a design professional to do your book layout design.
Happy publishing!