
Guides • Perfecting your Craft
Last updated on Apr 16, 2022
How to Make a Comic Book in 5 Superheroic Steps
Ricardo Fayet
Reedsy co-founder and Chief Marketing Officer, Ricardo Fayet has worked with hundreds of authors on their launches and marketing campaigns. He is the author of two bestselling guides on marketing for authors, and a regular presenter at the largest writers' conferences.
View profile →These days, almost any comic creator with talent and a strong vision can reach an audience. And with some luck, their creations might even join the ranks of the indie comics with screen adaptations (think I Kill Giants, Polar, and The End of the F****** World). In other words, there's no better time than today to be an indie comic creator.
If you have a passion for telling great graphic stories, here's how to make your own comic book in five steps:
1. Focus your ideas into a hook that pops
While you may already have loads of compelling ideas, characters, and settings, it’s wise to look ahead and see how you can capture interest with your comic book. Unless you already have a reputation that can draw in a boatload of readers (“The new series from the creator of Ultimate Spider-Man”), you’ll want to have a great ‘hook’ that fans will find irresistible.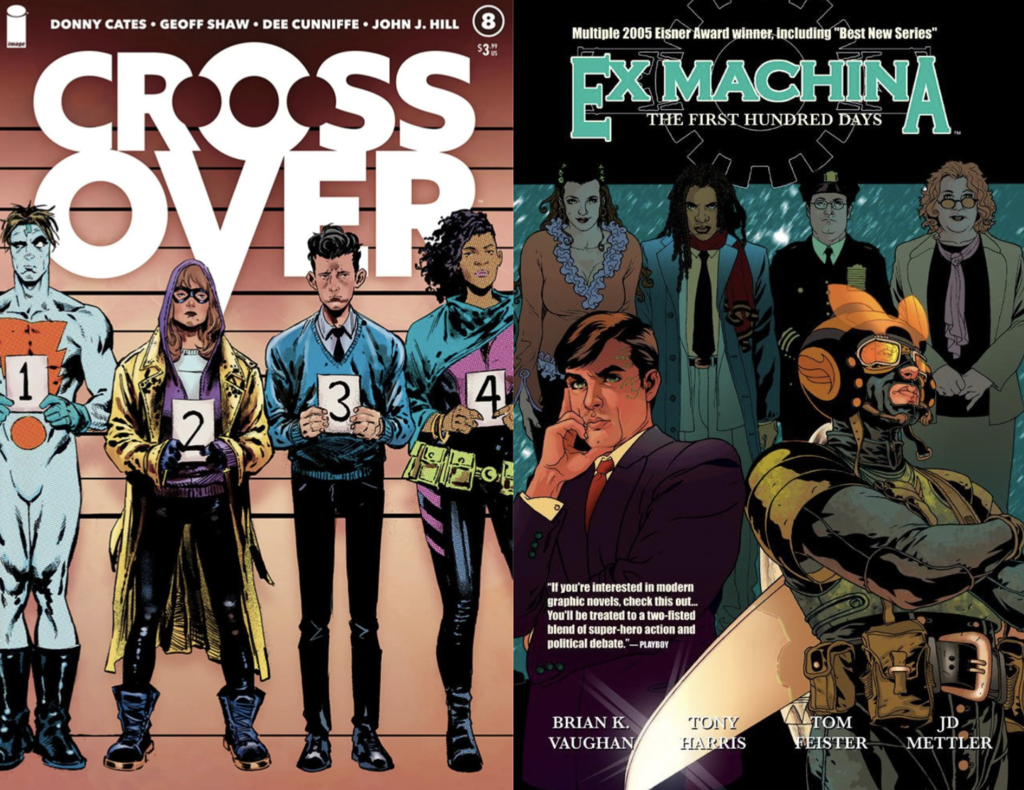 A hook is a line that you use to describe your concept to help people immediately understand what’s special about your story. Here are some examples of fantastic hooks:
Ex Machina by Brian K Vaughan and Tony Harris — Iron Man meets The West Wing: The world’s only superhero becomes the mayor of New York City.
Maniac of New York by Elliott Kalan and Andrea Mutti — Jaws, but with a serial killer instead of a shark.
Crossover by Donny Cates, Geoff Shaw, Dee Cunniffe and John J. Hill — A rupture in reality sees every fictional comic book character dropped directly onto real-world Denver, throwing the world into disarray.
The Private Eye by Brian K Vaughan and Marcos Martín — A near-future world where the Cloud “bursting” has led to normal people becoming intensely guarded over their personal lives — even wearing masks day-do-day and assuming false identities to keep their secrets safe.
By establishing your “hook” before you delve into writing and inking your comic, you will remain laser-focused on what gives your story an edge.
2. Choose the format your story needs (or the one it deserves)
How you choose to publish your book will affect how you write and illustrate it, so make sure you pick the right format. (We’ll talk more about how to publish your comic book in the next post of this guide).
Print comics
Whether you’re hoping to sell your comic to a publisher or go the indie route and publish it on your own, there are a few formatting issues to bear in mind.
Keep it under 30-40 pages. Comic issues are usually 32-pages long, but the stories tend to be around 22 page, to allow for ads and ‘letters from the editor’. If you’re going in the indie route, then you can be a lot more flexible, though keep in mind that printers will charge you by the page!
Black and white isn’t all bad. Color is hard to get right in comic art. This is why you’ll often see first-time comic creators working on books that lend themselves to the monochrome aesthetic, as going black and white can be both easier and cheaper to produce. (PS — You can always come back and add color later, like Fantasy Sports author Sam Bosma, whose indie B&W comic was picked up by a publisher and reimagined in color).

Don’t go too wild with your trim sizes. The trim size of modern comic books is 6.625 inches x 10.25 inches (or thereabouts). Most of the shelves in a comic store are for books this size, as are the clear plastic comic protectors that collectors use. Unless you have a truly revolutionary reason for printing a 9” x 9” title, you can save yourself a lot of hassle by sticking with a standard size.
Digital comics
If you’re planning to write an ebook comic, then you’ll obviously have a lot more freedom with how you format your artwork 一 which is why ever more artists are going down this route.
Most digital devices like phones, tablets, and computers aren’t ideal for reading comics in the traditional 9-panel grid. When it comes to handling short wide panels and double-page spreads, they can be even worse. However, with ‘guided view’ — a slideshow-style mode you can set up on Comixology using Amazon’s comic creator — you can make it a fairly reasonable experience on many digital devices.
So when writing a traditionally-formatted comic for the digital market, consider keeping things simple — if only for the sake of your readers’ eyesight.
Webcomics
Services like Webtoon and Tapas host comics that are designed to be read on the phone, where the images are sequenced vertically. All the reader has to do is swipe up to see the next panel. Currently, these platforms mostly cater to fans of manhwa (an originally Korean style of comic which is aesthetically similar to manga) — but you can expect these outlets to diversify as time goes by.
Blogs, Tumblr, Instagram
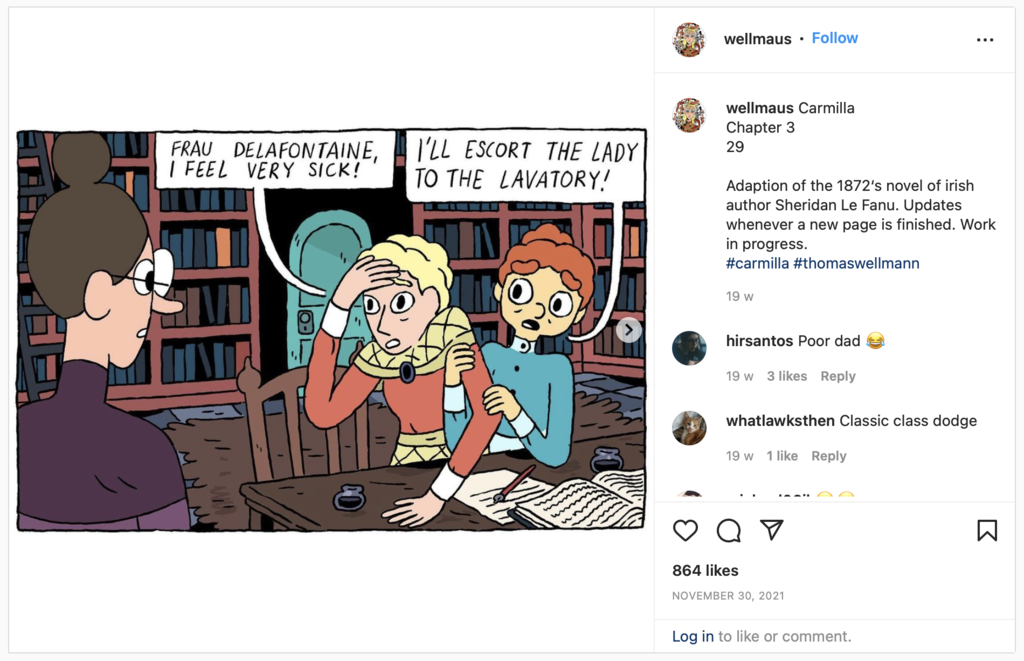
Some artists choose to cut out the middleman and share their artwork directly with their social media followers. One example of an author doing this is The Eyes by Javi de Castro, a comic hosted entirely on the author’s blog. Even published comic book artists use their socials to share small comics, like Thomas Wellman’s Carmilla comics which he shares to Instagram.
The great part about this is that you have total creative control; provided your artwork is appropriately formatted for your platform of choice, you can create and share it instantly.
If you want more information on different formats for comic books and how to publish them, you can check out the other part of our guide here.
3. Draft a punchy script, not a novel with pictures
Comics are, above all, a visual medium and most comic scripts reflect this. They are blueprints written for an audience of one: the illustrator. As a result, the script must convey the writer’s vision in a way that facilitates collaboration.
Plot style scripts
In most writer-artist partnerships, the illustrator will have an incredible amount of input in the final product. If this were a movie, the artist would be the director, cinematographer production designer, and casting director — and the writer is, unsurprisingly, the writer.
In these situations, it’s best for the writer to describe the action of the scene along with the dialogue — and leave it to the illustrator to bring that scene to life however they feel best to do it.
In plot-style scripts, the writer will describe the action of the scene in the present tense. They might present dialogue in quote marks, or in the style of a screenplay.This style of scripting is sometimes referred to as a “Marvel script” due to its longtime use by the publisher of Spider-Man and X-Men.
Total script
Oftentimes, a writer will want more influence over how the story visually develops across the page. If this is the case, you may want to take a panel-by-panel (or ‘total script’) approach.
When working panel-by-panel, be specific: let your artist know your ideal panel size, and how you visualize the “shot” — like you would to a cinematographer. Alan Moore’s scripts are a great example of just how granular you can be when writing this way.
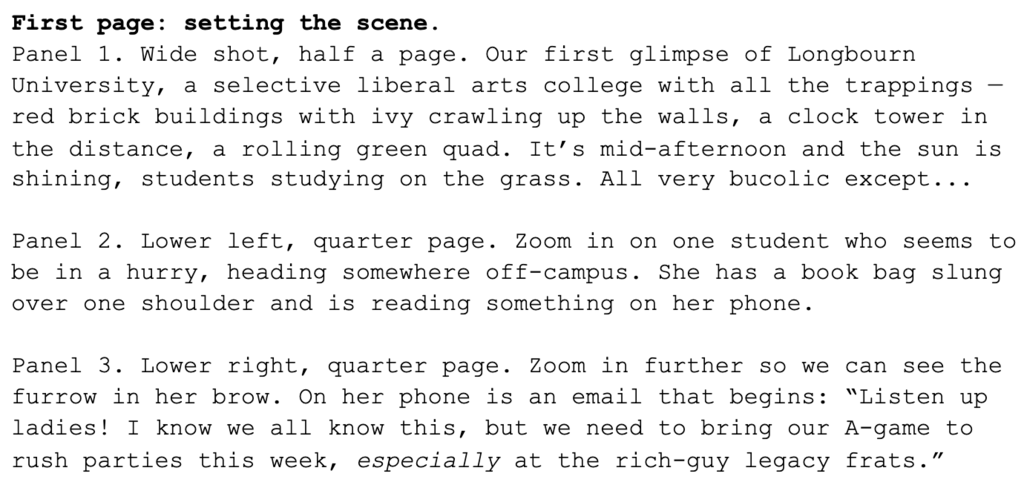
Most contemporary writers go with the panel-by-panel script, which is best if you have a clear, specific vision for your comic book. However, if you’re flexible on the details and would like some room to improvise, then the page-by-page option might be better.
Tailor your script to your artist’s needs
If you’re collaborating with an artist on making your comic book, you may need to tweak the way you’ve scripted to make sure they have everything they need. It’s good to bring an artist on board as early as possible (which we’ll discuss more in the next section) so that you can keep them in mind while scripting.
Since some artists may request more or less detail in your scripting, it’s important to agree on how much creative control your artist should have, or if they’re willing to follow more granular instructions. Generally, most artists will be happy to make creative decisions when illustrating, but don’t be afraid to get specific and make requests while collaborating!
Even if you’re your own artist, it is a good idea to have at least a page-by-page outline before you start drawing, so you can refer back to it and you’re never left wondering what’s supposed to happen next.
While there are a few different ways you could script your comic book, here are some hard and fast rules you should try and stick to:
Cut the small talk
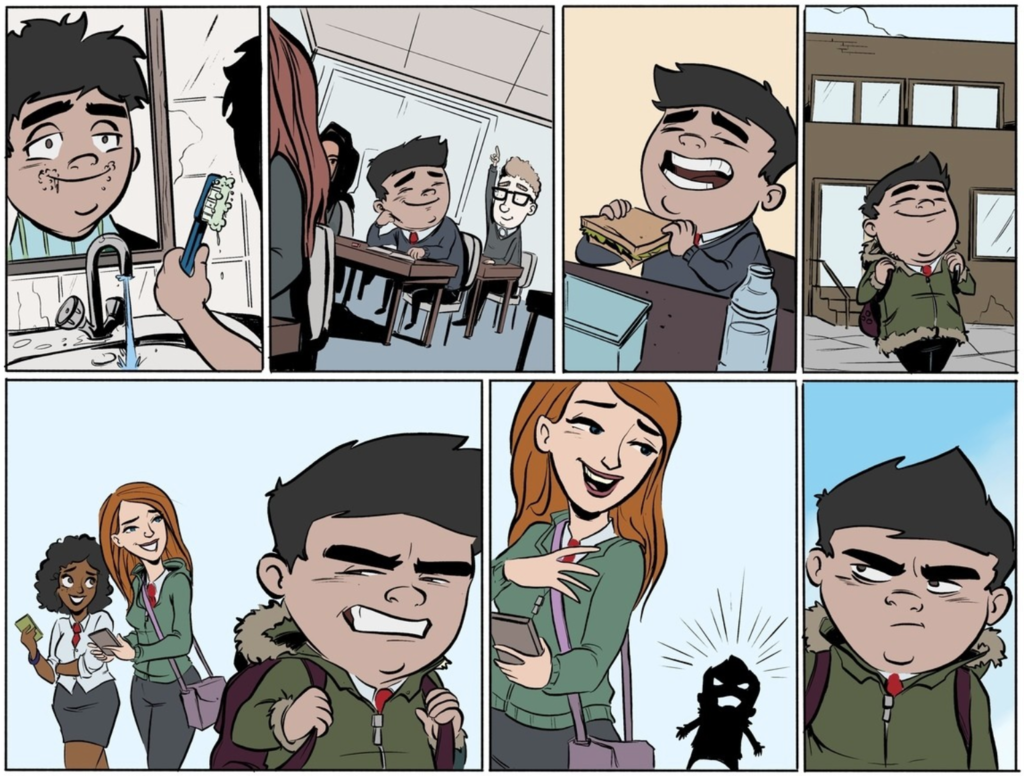
Above all, comic books are a visual medium, so try and keep dialogue short and sweet. Remember when Twitter only allowed 140 characters per Tweet? According to comic book editor Rachel Gluckstern, this is also a good limit for each line of comic dialogue — and try to keep it to 10-12 total lines per page, captions, and speech bubbles included.
Pace your action
You’re working with still images, and what’s happening on each page needs to be understandable from a few frames alone. Any more than two or three distinct actions per page (say, a character climbing the stairs, opening a door, and locking it behind them) is too “busy” to show on a single page, and can really throw off the pacing of your comic.
Don’t forget that page count
As we mentioned, you can go longer or shorter, but 30-40 pages is about the expected length of a comic book, and a realistic scope for a first-time author — and of course, you can always create additional installments to your first issue.
These technical considerations can be a little overwhelming, but don’t forget that you can always consult a professional to make sure your script is production-ready. At Reedsy, we work with the best editors in the industry, who can advise on technical requirements and help you create the right script to realize your vision.
Looking for an editor for your comic book?
Sign up to meet amazing editors for hire on Reedsy.
Learn how Reedsy can help you craft a beautiful book.
4. Team up or go solo for the artwork
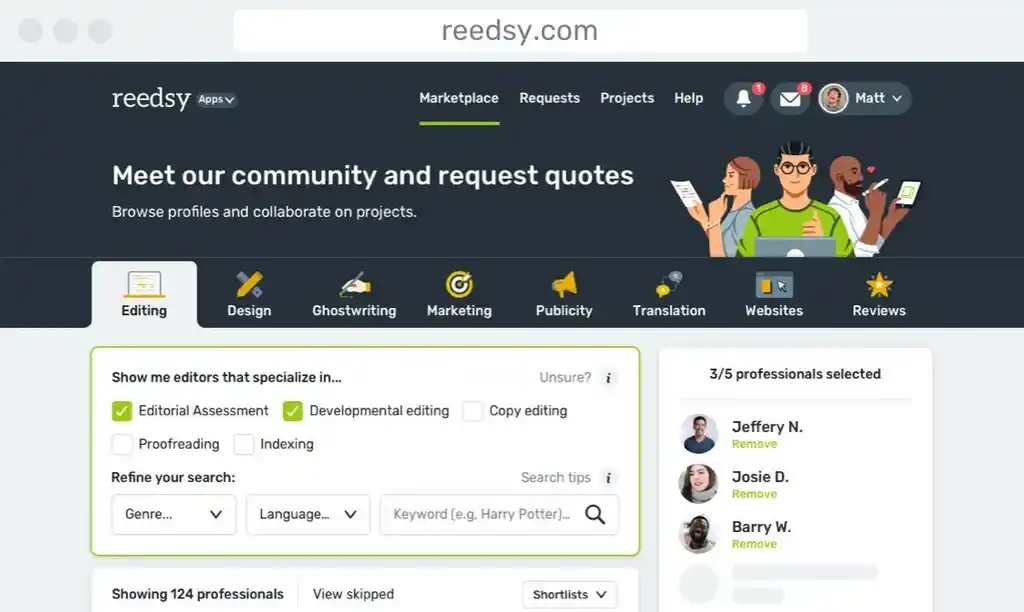
It's the moment you’ve been waiting for: bringing your comic book to life with illustrations! If you’re not an artist yourself, this is where you’ll want to call in a pro. If you don’t know where to find them, you could start with the brilliant comic book illustrators right here on Reedsy. Sign up for free to look through their portfolios and find the perfect style for your comic.
If you’re collaborating, team up early
Oftentimes, the way to get the most out of your comic book collaboration is to bring an illustrator onboard nice and early. By sharing your visions and getting on the same page, you’ll have the best chance of producing a comic book you’re both happy with, and with minimal friction.
Starting early will also give you the time to find an illustrator who really works with you. Don’t rush into choosing your artist, and take time to review any potential illustrator’s previous work, and see whether their style is the one you want for your work.
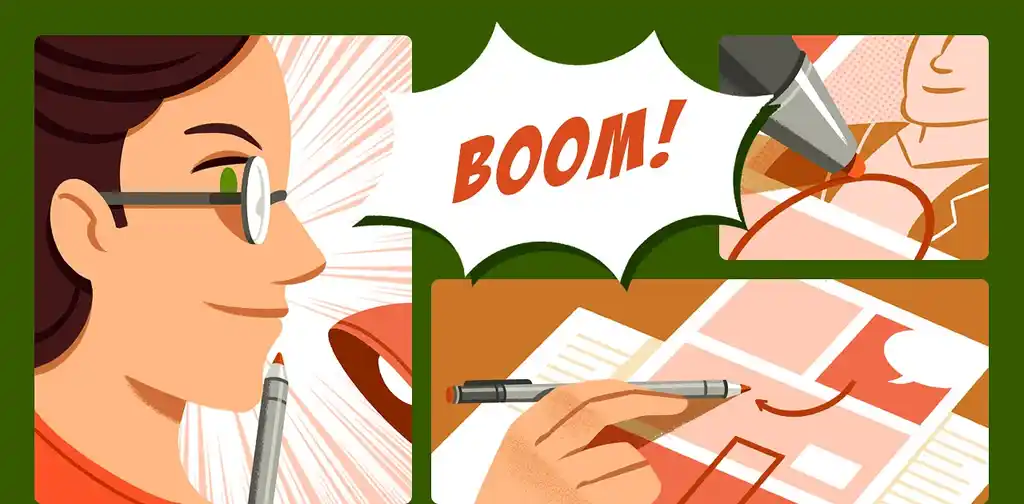
Start with a storyboard
Whether you’re creating your own art or collaborating with an illustrator, this part should begin with storyboarding: sketching out your panels to get a rough idea of how they’ll look and “flow” together on the page.
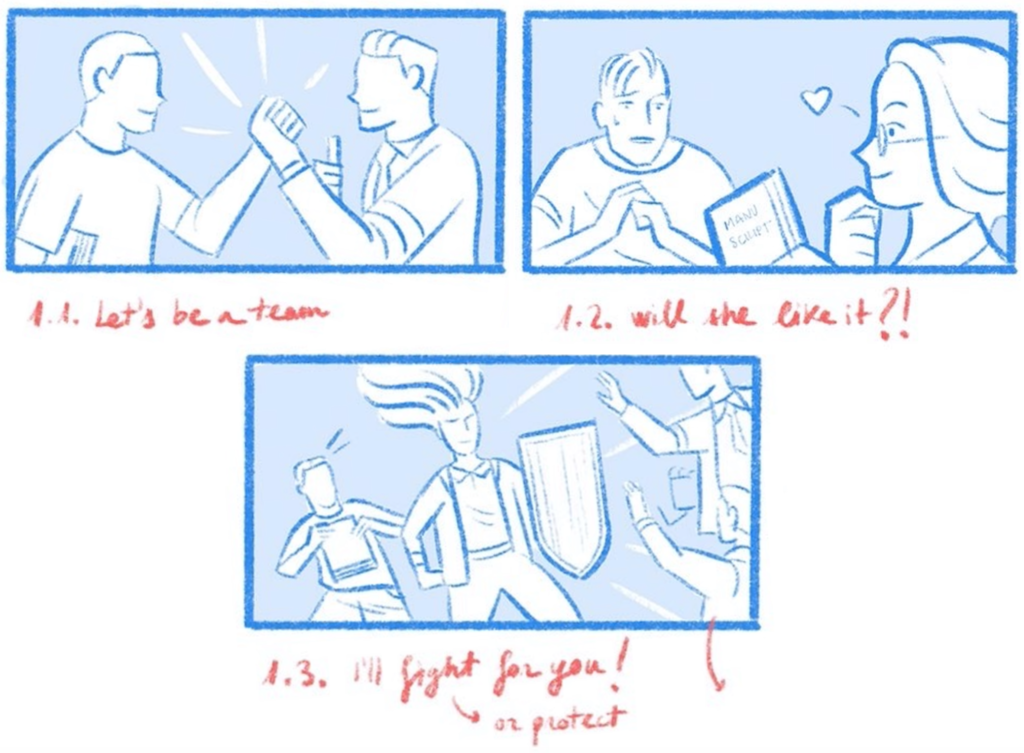
You may have done a little storyboarding in the writing stage, but it’s good to sketch out your entire comic book before you proceed. Even if you’ve gone for a panel-by-panel script, storyboarding often reveals ways you can improve it — altering the pacing, adding or deleting captions, even transplanting entire panels that would work better elsewhere.
If you’re working with an illustrator, having them storyboard first ensures the two of you are on the same page. Though there may be a few kinks to iron out, it will be worth it to know that your illustrator 100% understands your vision.
If you’re illustrating your comic solo, you should still consider storyboarding. A “rough draft” of your visuals will help you spot anything you may have misjudged while scripting, like too many dizzying POV shifts or awkward scene transitions. As tempting as it might be to just get started on the real deal, it’s better to sketch things out before sinking too much time into panels that may never get used.
You can lay out your panels the good old-fashioned way on a corkboard or whiteboard, or use storyboarding software like Storyboarder or Canva.
Whether you’re storyboarding yourself or have professional help, take your time with this, and don’t move on to completed artwork until you’re happy with your storyboard. You’ll still need to adjust small things for the final product, but storyboarding should prevent mid-production disasters, potentially saving you a lot of time and money.
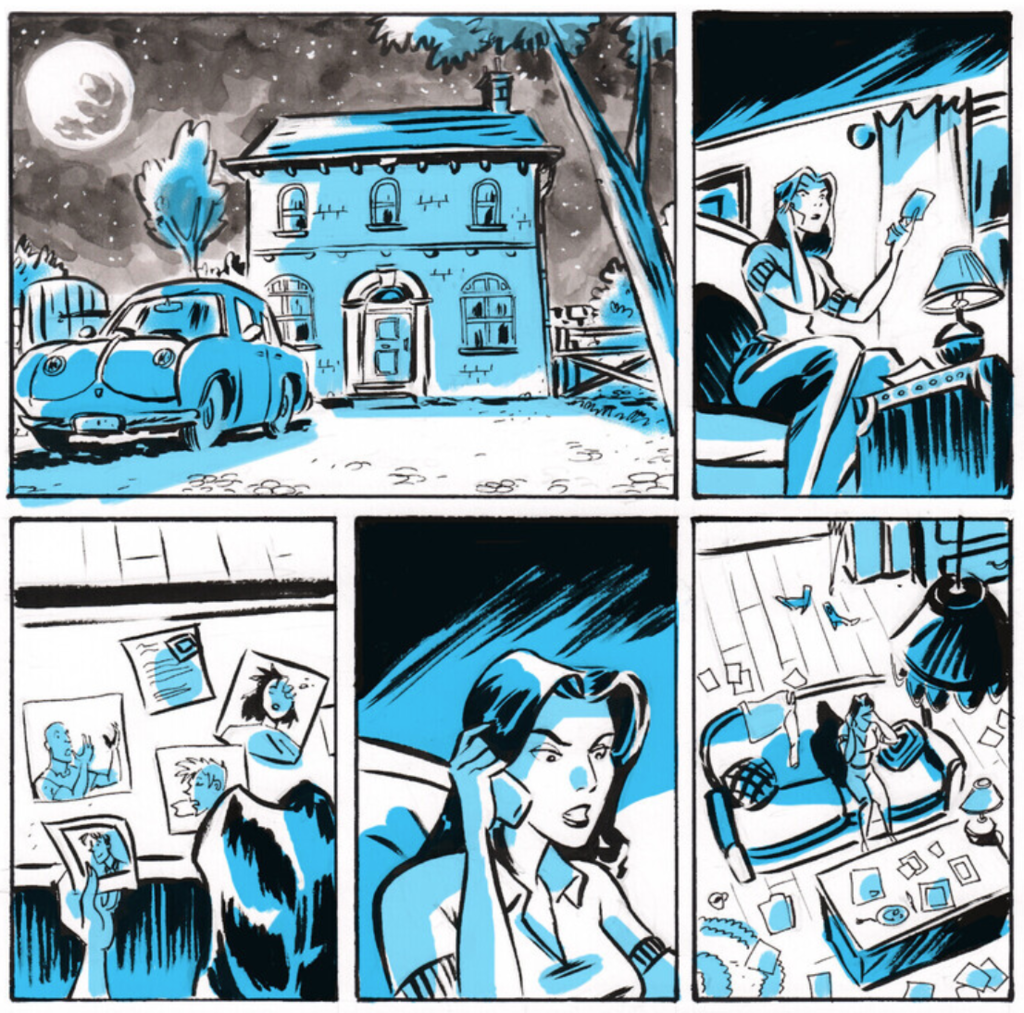
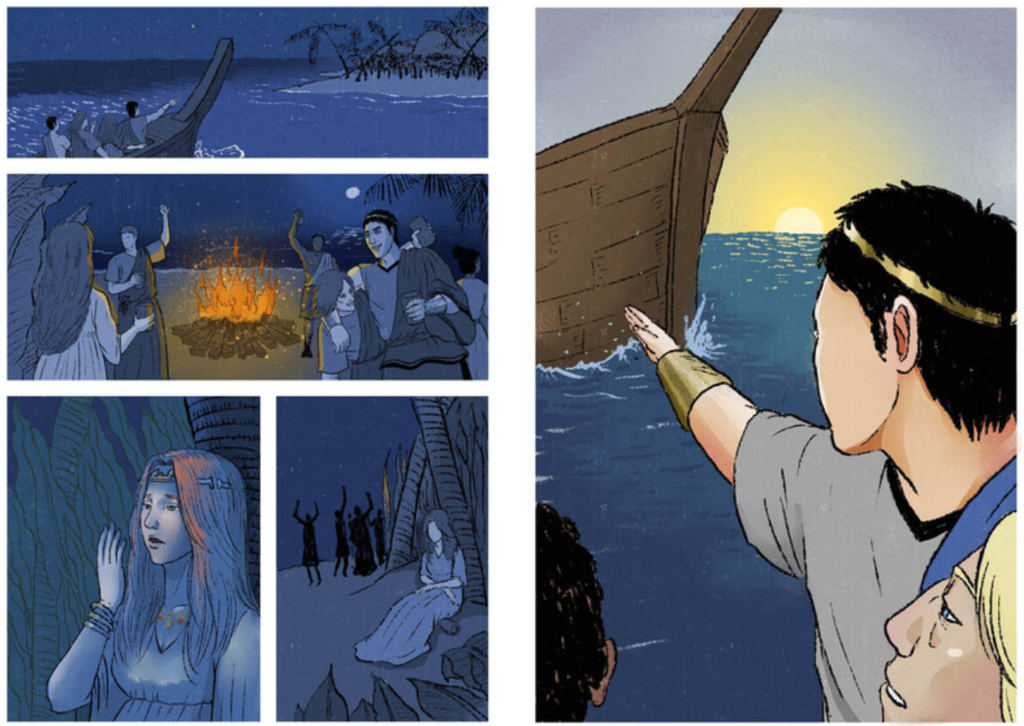
Time to illustrate
If you’re collaborating with a pro, then it’s time to hand over your files and let them do their thing! Be prepared to give some feedback on various iterations of the comic; your artist might want to consult you on certain decisions during the process, and ask you to give constructive feedback before you reach your final product.
To see what a professionally drawn comic should look like at this stage, check out these examples from our illustrators:
Need an artist for your comic book?
Sign up to meet 50+ amazing comic book artists for hire on Reedsy.
Learn how Reedsy can help you craft a beautiful book.
If you’re illustrating solo, then there are other things to keep in mind. You’ll want to establish a “house style” before you get started, including an idea of your color palette, and some character concept art, to make sure you achieve continuity throughout your work. You may find your ideas change over the course of illustrating, so be prepared to go back and make revisions.
You may think that adding text is the final step in your illustration process, but hold up! Before creating your illustrations, you’ll want to consider how much space your text will take up. Even if you haven’t decided on your final font yet, you should make sure you outline a space that each panel’s text can sit in comfortably, and then use the remaining space to draw.
Next will come penciling and then inking your images, followed by adding in any color. Finalizing lettering will be the final step in the process, which we’ll discuss in the next step.
If you’re going analog and illustrating using pen and paper, make sure you have access to a high-resolution scanner to digitize your artwork. If you want to go digital from the start, do your research and pick out a software that can support your needs (for example, a lot of pros swear by Clip Studio Paint Pro, but you’ll want to see what else is out there before committing).
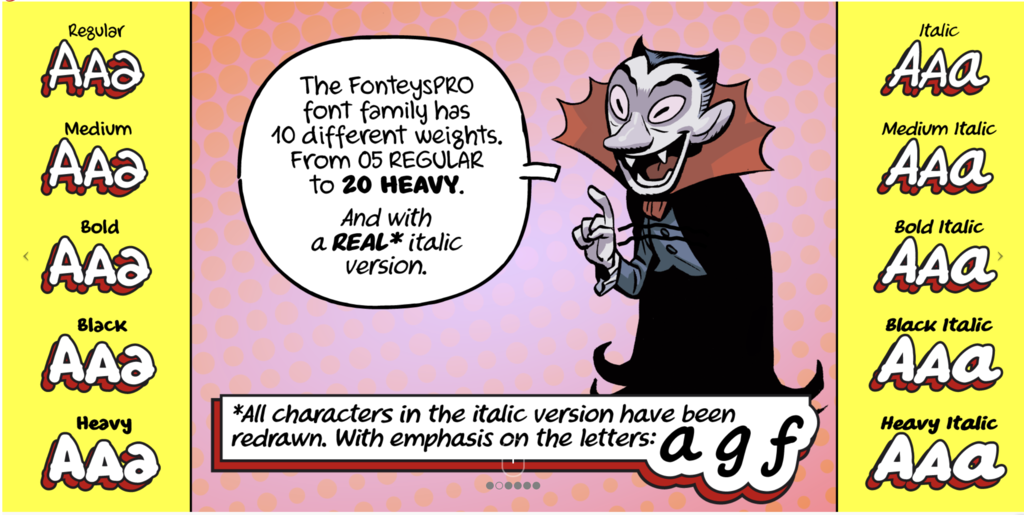
Maybe invest in an experienced letterer
Comic book lettering is a distinct art form of its own, and is very important in creating a polished final product. Conventionally, your lettering should be capitalized, and framed by balloons or boxes. There are some other conventions that are used to convey emotion, or as a shorthand for readers, which a professional letterer will be well versed in, so hiring one is well worth the investment.
If you’ve hired an experienced comic book illustrator, they may also be able to assist with lettering. If not, you have a couple more options: you can research fonts and lettering software to attempt it yourself, or you can hire a typographer who specializes in comic book lettering.
Lettering is a good investment, as working with a pro on a custom font is the best way to create the perfect typeface for your work, and one that you can then go on to use forever.
Create your perfect cover image
As much as the old saying suggests otherwise, people really do judge a book by its cover — and especially a comic book. You may want to collaborate with the same artist who created your interior design to make your cover, to ensure readers have a good idea of what they can expect from the art style.
Having said this, some writers and publishers work with different artists to create their covers, so this isn’t outside of the realm of possibility. Some illustrators specialize in covers, because they understand the artistic “language” of creating a commercial cover. Using a second illustrator for cover art is especially common in the US market, although less so in Europe or Japan.

Either way, you’ll want to make your cover image attention-grabbing and representative of the tone of your work, and mark your title and issue number clearly so readers know what they’re looking at.
Comic book, assemble!
Now you’ve got all your elements, it’s time to pull them together, and assemble your comic book. Arrange your final panels into their final flow, and give everything a final review. Is the flow from panel to panel intuitive? Does the eye get drawn to the right places? Is the action comprehensible? If the answer to any of these is no, you’ll want to go back and make revisions until you’re completely satisfied.
5. Drop Issue #1 like it’s hot
Congrats, you’ve made your comic book! After you’ve assembled everything and finalized the artwork, it’s time to get publishing. We have a whole post on this, which also covers how to print and market your comic book, but here are some quick tips.
One of the best things about comic books is that when you find one you love, you can look forward to future installments of the story. Start with just your first issue, and incorporate feedback from readers into the rest of your run. If there’s an unexpected fan favorite that people want to see more of, or a common critique, you can use that information to shape the rest of your series.
Don’t let too much time pass in-between issues, though — you’ll want to be timely with your releases so that your story doesn’t lose momentum. Between editions, keep your fans engaged using social media, and share teasers from upcoming installments to keep your work fresh in readers’ minds.
For more tips on publishing your comic book, check out the next section of our guide to learn how to bring your creation to the masses!
4 responses
Dominique Wilson says:
11/05/2017 – 15:04
I have an artist I'm collaborating with for the illustrations and I am providing the story/script. I only commissioned the illustrator for the pictures. So who can I get to write the words in the captions and balloons? Is there software for this that I can do it myself? Obviously I am in the very beginning stages of the project but I would like to plan accordingly and create a great product.
↪️ Rachel Gluckstern replied:
11/05/2017 – 20:28
Great question! There is software you can use, but if you want it to be the best it can be, you should be looking for a Letterer. There are many, many talented freelance letterers out there who will probably be able to work out a reasonable rate depending on how long the project is and how wordy it is as well. A really good letterer will know how to place the captions and balloons so that they flow in the proper reading order and integrate well with the art. It's recommended that you have the manuscript that they'll be extracting the words from as clean and as well-edited as possible before they work on it, so that there's little need for revisions. Best of luck to you!
D.C. says:
10/12/2017 – 06:40
I have had my first graphic novel in progress for quite a number of years. I've gone through chapter revision after chapter revision, and now I'm going to revise again. I'm currently faced with a problem, though: what is the best way to ensure that I can hire a good enough artist? Would I have to get funding from a publisher, or would I need to start a Kickstarter or Indiegogo page, or would I need to save up my own money to hire an artist?
↪️ Reedsy replied:
11/12/2017 – 10:02
Graphic novels work like a charm on Kickstarter, so this would be my advice. However, it's very important for a crowdfunding campaign to already have some art to display. Campaigns need to be highly visual if they are to reach their target. So I'd recommend first looking around for a talented illustrator who matches your style, then hiring them (with your own savings) to produce some artwork (cover + a few illustrations, maybe a double page spread) that you can showcase on the Kickstarter campaign. If you pursue that route, we have an indispensable (and free) course on crowdfunding here: https://blog.reedsy.com/learning/courses/publishing/crowdfunding-for-authors/